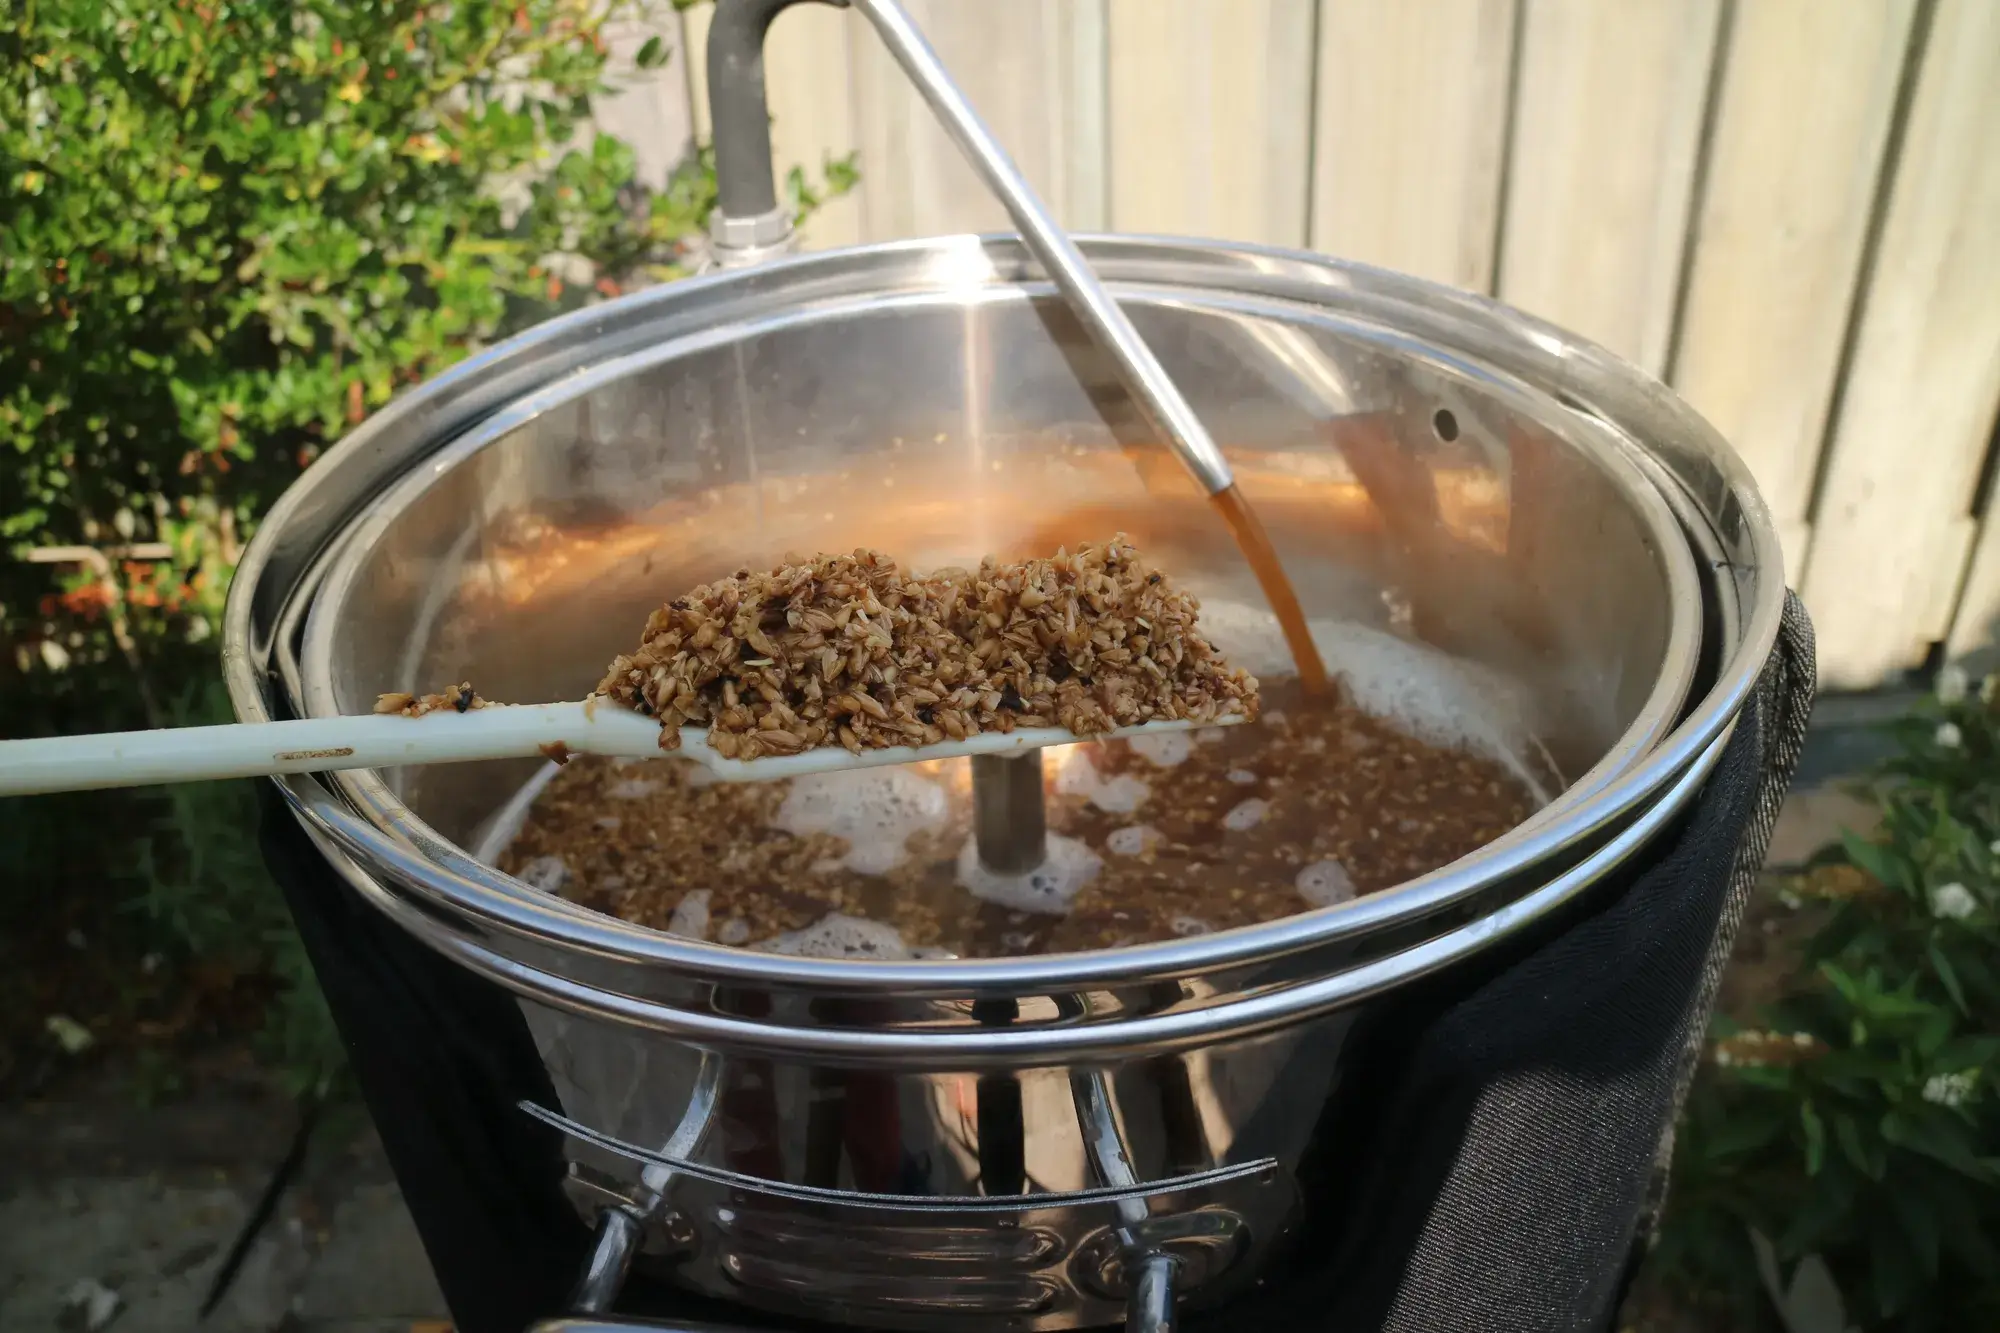
At times, a recipe may call for more malt than your brewing system can handle. In such instances, you have the option to do a double mash. But how does that work?
I’ve been brewing with a simple all-in-one brewing kettle for a while and found it thoroughly enjoyable. However, for certain brewing recipes, I noticed that the required malt quantity exceeds the system’s capacity, capped at 8 kilograms.
To address this challenge, I’ve identified two common solutions: brewing with less malt or reducing the brew volume. However, there’s a third option: double mashing.
What is a double mash?
As the name suggests, a double mash involves mashing twice. Essentially, you split the malt quantity and process it in two stages.
The advantage of double mashing is that you can brew heavier beers without reducing the brew volume. However, there’s a slight drawback – it takes a bit longer to mash, as you’re dealing with two malt loads.
ADvertisement
How does a double mash work?
When conducting a double mash, you divide the total malt amount into two parts. First, you add and mash the first part. Then, you remove the malt from the wort. Finally, you add and mash the second part into the existing wort.
For example: if my kettle can handle 8 kilograms of malt, but I need 10 kilograms to achieve a specific gravity (SG), I would double mash, with each batch having a malt load of 5 kilograms. Typically, I would use 20 liters of mash water.
To sparge or not to sparge?
Usually, sparging is done to replenish water losses and ensure an adequate volume for boiling. However, with a double mash, the mashing process is divided, and sparging can take some time. You may choose not to rinse the first part, saving some time. However, this decision might result in a slightly lower efficiency – a compromise you make with this method.
You should sparge the second part as usual. If you chose not to sparge the first part, you can use more sparging water in this step. Sparge until you reach the desired pre-boil volume.
How long should you mash?
Another decision to make is the duration of each mashing stage. You have a few options: you can choose to maximize your malt extraction and mash for an hour or stop earlier if you reach the expected gravity.
Opting for the former means spending a maximum of two hours on mashing. Alternatively, you can shorten each stage to 45 minutes, totaling 90 minutes for the entire mashing process.
The mash schedule
With a double mash, I wouldn’t opt for a complex mash schedule. Be aware that you continue the second part at the temperature of the first part. Going from a low temperature to a high one is feasible, but the reverse may not work as enzymatic activity might have ceased.
Personally, I’d choose a single-step mash, maintaining a consistent temperature. Additionally, I’d incorporate dark malts only in the second part of the mash. An alternative is steeping them in water.
Expect a lower efficiency
Expect a lower efficiency when conducting a double mash. To compensate, when creating your brewing recipe, use a lower efficiency for quantity calculations. If your normal efficiency is 70%, set the brewing software to 65%.
The risk of assuming a lower efficiency is that it might turn out higher, resulting in a slightly stronger beer. Therefore, it’s a matter of preference whether you’re comfortable estimating a lower efficiency in advance.

