When brewing beer, having healthy yeast is essential to achieving a successful fermentation. One way to ensure the health of your yeast is by making a yeast starter before you brew.
A yeast starter is a small-scale fermentation that allows you to grow your yeast population and ensure that the yeast is active and healthy before pitching it into your larger batch of beer. In this guide, we will walk you through the process of making a yeast starter for homebrewing.
What is a yeast starter?
A yeast starter is a small-scale fermentation that is used to increase the amount of yeast you pitch into your beer. The process involves creating a mini batch of wort (unfermented beer) and adding a small amount of yeast. The yeast will consume the sugars in the wort and multiply, creating a larger population of yeast cells. This process allows you to begin with a larger, healthier population of yeast, which can lead to a faster, more vigorous fermentation and better beer overall.
ADvertisement
Why should you make a starter?
There are several reasons why you should consider making a yeast starter for your homebrew:
- Ensure yeast health: By making a yeast starter, you can ensure that the yeast you pitch into your beer is active and healthy. This is especially important if you are using older yeast, or if you are using a high-gravity wort (one with a high amount of fermentable sugars).
- Faster fermentation: A yeast starter will help your beer to ferment faster and more vigorously. This is because you are starting with a larger population of yeast, which can consume the available sugars more quickly.
- Better beer: A healthy yeast population can lead to better beer overall. A sluggish or stressed yeast population can produce off-flavors or incomplete fermentation, leading to a less desirable beer.
Another good reason to make a starter is when you are reusing yeast sludge. This yeast sludge needs to be active before you are using it.
The yeast starter process
A step-by-step guide on how to make a yeast starter for homebrewing:
- Gather your equipment
You will need a few pieces of equipment to make a yeast starter, including a flask or growler, a stir plate (optional), a stir bar (optional), dry malt extract (DME), and a funnel.
- Sanitize your equipment
Make sure all of your equipment is properly sanitized before use. This includes your flask, stir plate, stir bar, funnel, and any other equipment that will come into contact with your wort or yeast.
- Measure your DME
You will need to measure out your DME for the yeast starter. A good rule of thumb is to use 10% of the total wort volume. For example, if you are making a 1-liter yeast starter, you will need 100 grams of DME.
- Boil your wort
In a small pot, bring water to a boil and add the measured DME. Boil the wort for 10-15 minutes to sanitize it.
- Cool your wort
Once the wort has been boiled, cool it to room temperature. You can do this by placing the pot in an ice bath or using a wort chiller.
- Transfer wort to your flask
Once the wort has cooled, use your sanitized funnel to transfer it to your flask or growler.
- Add yeast
Add your yeast to the flask or growler, and stir to combine. If you have a stir plate, you can add the stir bar and set it to stir.
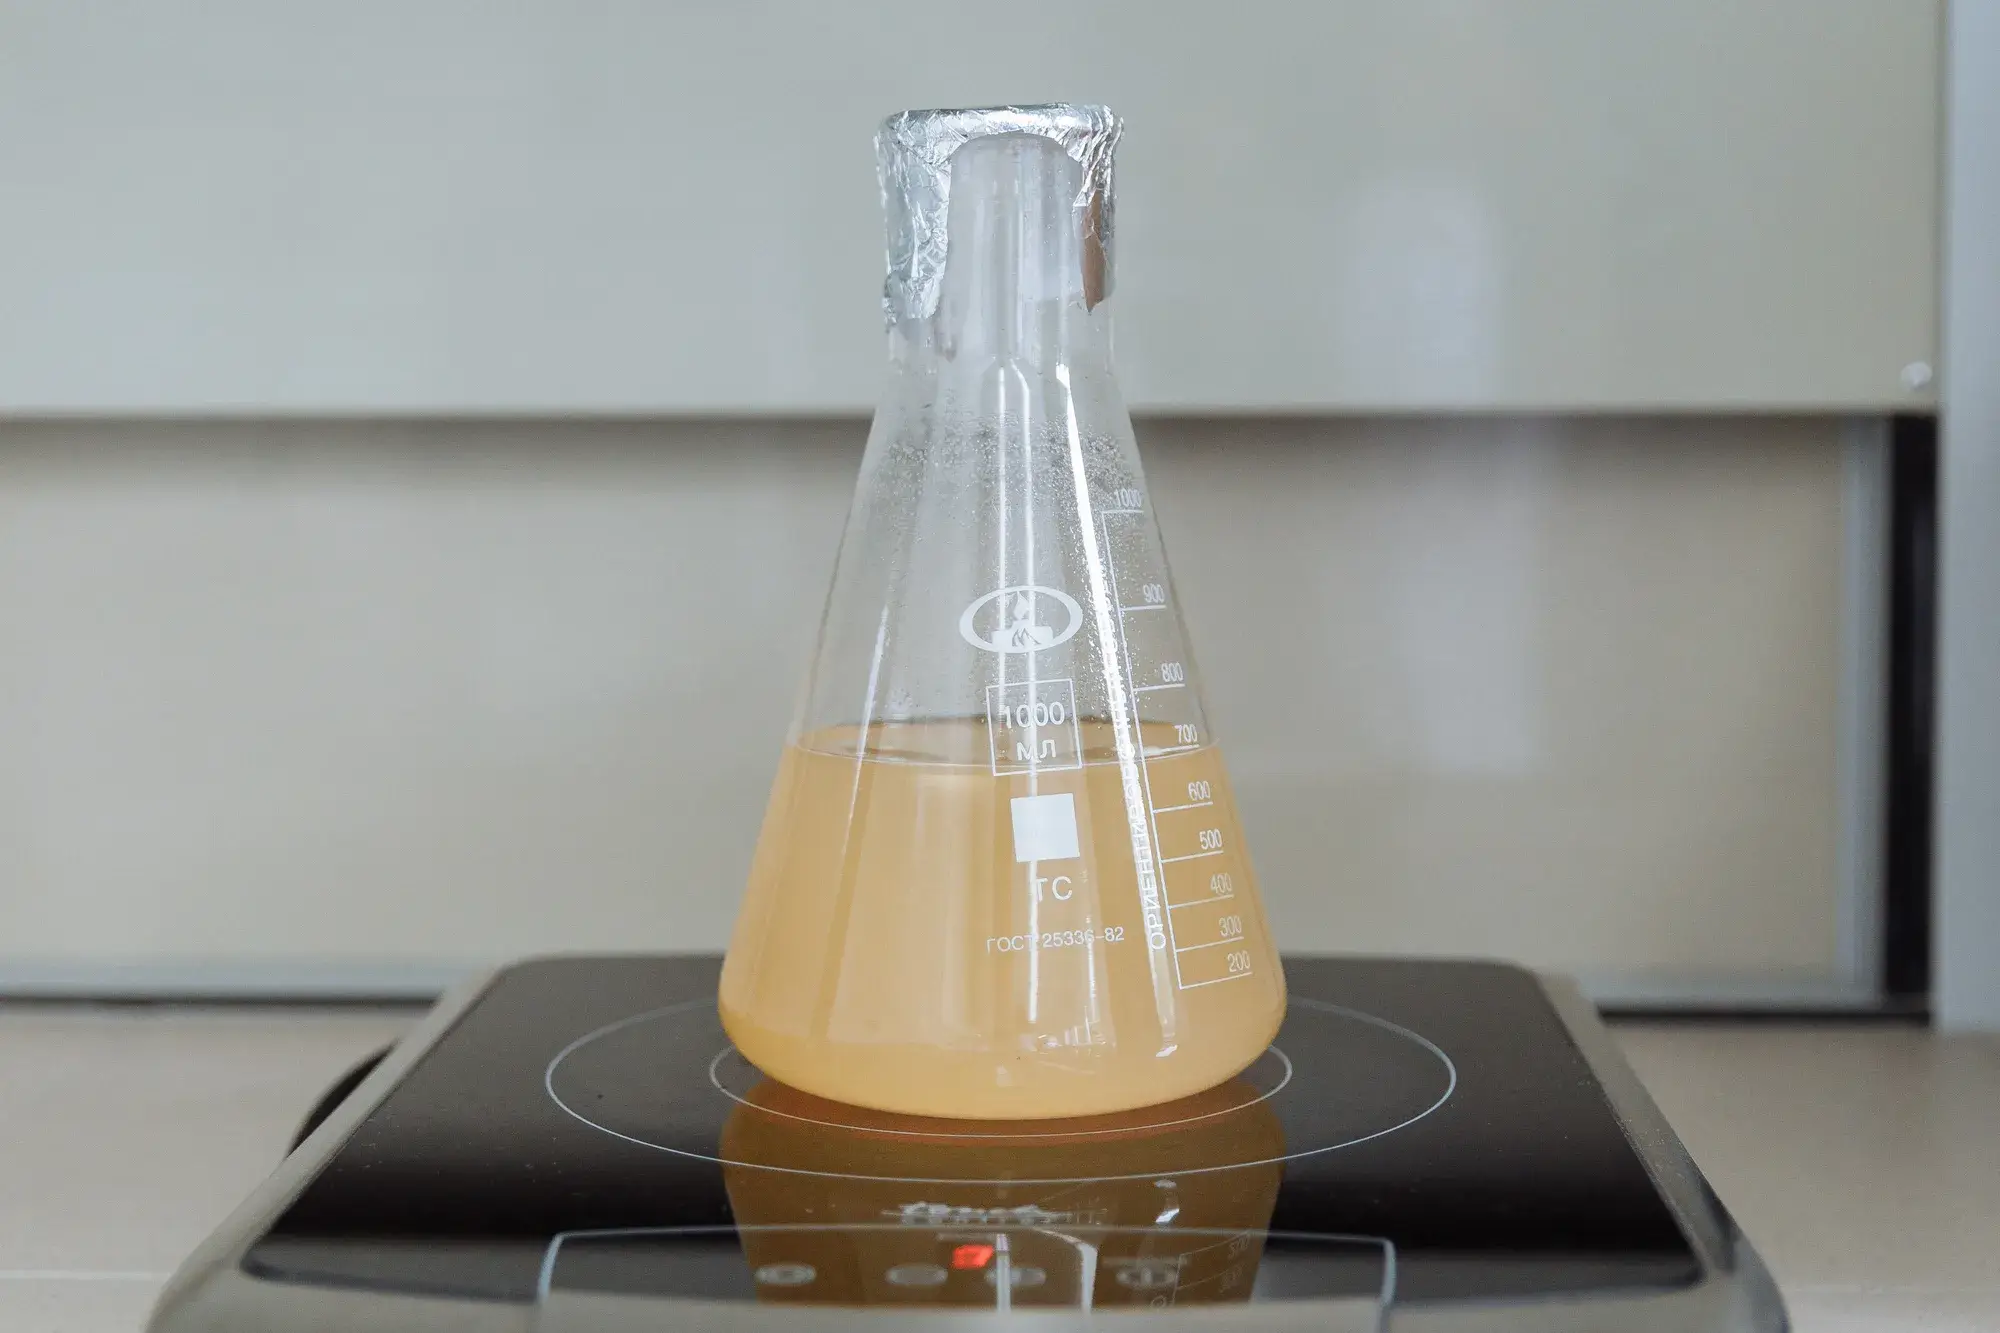
- Let ferment
Cover the flask or growler with a sanitized piece of foil or an airlock, and let the yeast ferment for 24-48 hours.
- Pitch into your beer
Once the yeast starter has fermented, you can pitch it into into your beer.
Before pitching your yeast starter
After your yeast starter has been prepared and allowed to grow, it is time to pitch it into your beer. Before doing so, you should make sure to cool your wort to the appropriate temperature for the yeast strain you are using. The temperature range for most yeast strains can be found on the package or online.
Once your wort has cooled to the proper temperature, you can pitch your starter. Make sure to sanitize the outside of the flask or container before opening it, and then pour the entire contents into your fermenter. Stir or shake your fermenter to ensure that the yeast is evenly distributed throughout the wort.
Conclusion
Making a yeast starter is a simple but important step in homebrewing that can greatly improve the quality of your beer. By following the steps outlined above, you can ensure that your yeast is healthy and active, and that your fermentation is strong and complete. With a little practice, making a yeast starter will become second nature, and you will be on your way to brewing better beer.