If you’re a homebrewer, you know the bittersweet moment that follows lautering: the spent grains. It feels like a waste to throw them out—after all, they smell great, still hold some nutrition, and represent the work you’ve just put in. The good news? You don’t have to throw them away. With a little effort, you can turn these leftover grains into something delicious—like spent grain bread.
In this post, we’ll walk through how to dry spent grains so you can store them long-term, and how to use them to bake a hearty, flavorful bread that pairs perfectly with your homebrew.
Why reuse spent grains?
Spent grains are mostly made up of barley husks, proteins, and fibers. After mashing, the sugars are extracted, but what remains is still useful in many ways:
- Baking (bread, crackers, muffins)
- Compost
- Livestock or chicken feed
But today, we’re focusing on baking—because what’s better than a loaf of bread made with your own beer ingredients?
ADvertisement
How to dry spent grains
Spent grains spoil quickly. If you leave them on the counter after brewing, they’ll start to ferment or go moldy within a day or two. That’s why it’s essential to dry them if you’re not using them immediately.
What you need
- Baking trays
- Oven (preferably with convection)
- Spatula or spoon
- Parchment paper or silicone baking mats
Drying instructions
- Preheat your oven
Use a temperature around 90–100°C (195–210°F). You want a low temperature to dehydrate the grains without toasting them.
- Spread the grains
Use a baking tray, that has a thin layer—no more than 1 cm thick (½ inch).
- Dry the grains for 4–6 hours
Stirring occasionally will help moisture escape. The time depends on your oven and how wet the grains are. If your oven has a convection setting, use it—it really speeds up the process.
The grains are done when they feel dry and slightly crunchy. Let them cool completely before storing. - Grind the dried grains
If you plan to grind the grains into flour, you can do this after drying using a food processor or coffee grinder.
- Store for later use
Using airtight containers, jars, or ziplock bags. Keep them in a cool, dry place.
The Freezer Shortcut: No Time to Dry?
Let’s be honest: after a 5-hour brew day, the last thing you want to do is watch an oven for another 6 hours. If you’re not ready to dry your grains, you can freeze them wet.
Simply portion the wet, squeezed-out grains into freezer bags (aim for 250g portions to match the recipe below). Flatten the bags so they stack easily and freeze immediately. When you’re ready to bake, just thaw a bag in the fridge overnight.
Note: If using wet/frozen grains, they already contain moisture, so you might need slightly less water in your dough than if you were using rehydrated dry grains.
Texture Tip: From “Husky” to “Hearty”
Spent grains are high in fiber, which is great, but they also contain the husks of the barley. If you use the grains whole or coarsely ground, your bread can end up feeling a bit “pokey” or gritty. For the best mouthfeel, grind your dried grains into a fine spent grain flour.
If you prefer a rustic texture, try a 70/30 split: use 70% regular bread flour and 30% spent grain flour. This gives you all the nutty flavor and aroma without making the loaf feel like a bowl of cereal.
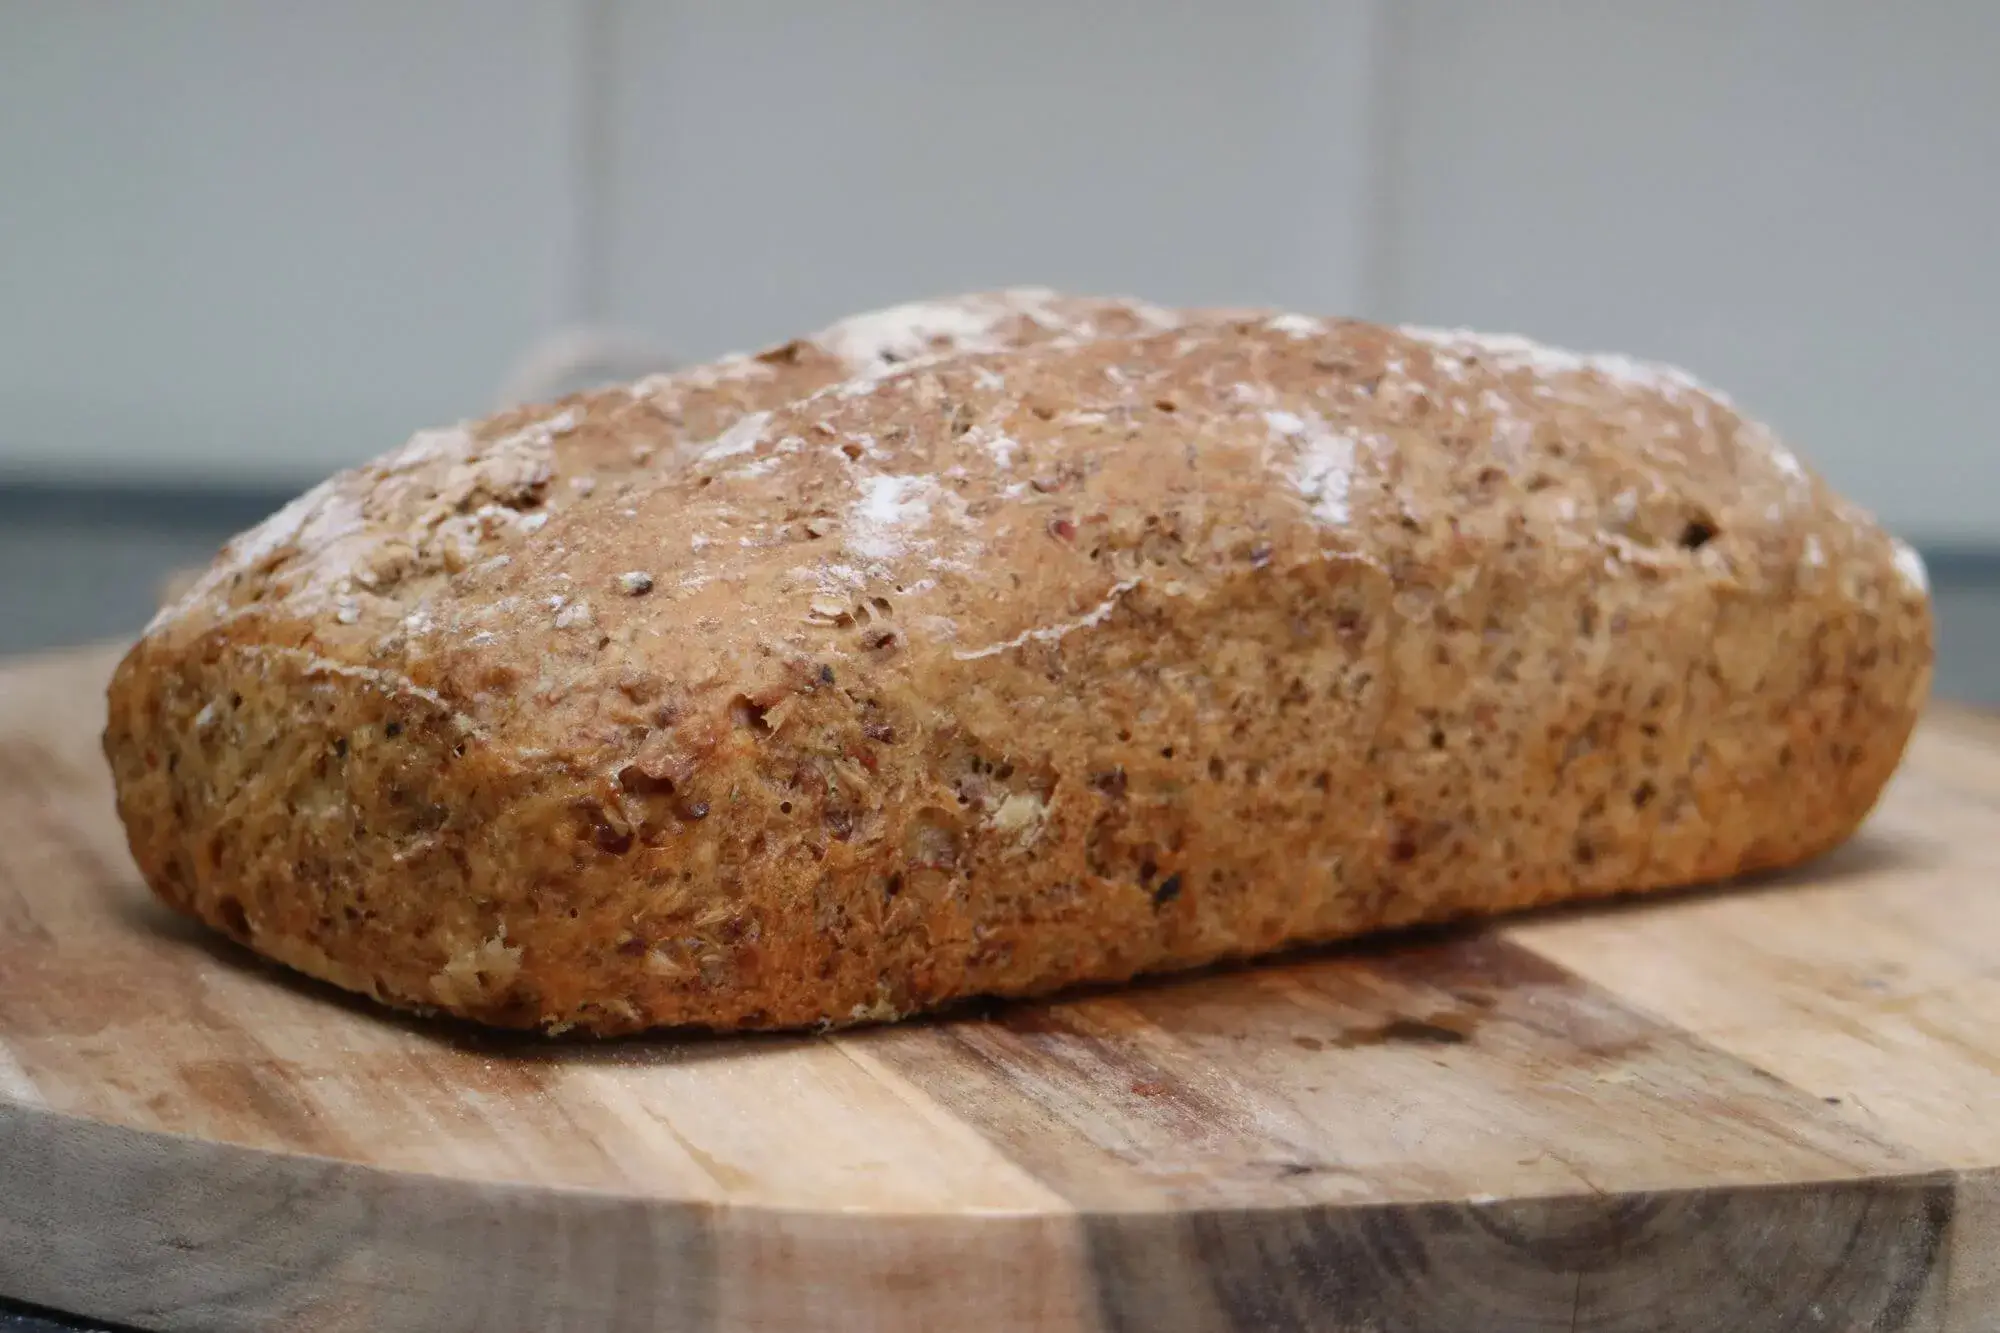
Bake your own spent grain bread
Now that your grains are dried and ready, it’s time to bake! This recipe makes a rustic, slightly nutty loaf that’s perfect with butter, cheese, or even a slice of smoked meat.
Spent grain Bread
Brew a delicious bread using spent grains.
Ingredients (for 1 loaf)
- 250 g (1 cup) spent grains (wet or rehydrated from dried)
- 500 g (3 ⅓ cups) bread flour or all-purpose flour
- 7 g (2 tsp) instant yeast
- 10 g (1 ¾ tsp) salt
- 1 tbsp sugar or honey
- 250 ml (1 cup) warm water (adjust as needed)
- Optional: 1 tbsp olive oil or melted butter
Instructions
- Mix the ingredients in a large bowl. Combine flour, salt, yeast, and sugar. Then add the rehydrated spent grains and water. Mix until it forms a sticky dough.
- Knead the dough for 8–10 minutes by hand or with a stand mixer until smooth and elastic. If the dough is too dry, add a little extra water; if it’s too wet, sprinkle in more flour.
- First rise: Place the dough in a lightly oiled bowl, cover with a towel, and let rise for 1 to 1.5 hours at room temperature—until doubled in size.
- Shape the loaf: Turn the dough out onto a floured surface. Shape into a round or oval loaf and place it on parchment paper or in a greased bread tin.
- Second rise: Cover and let it rise for another 45–60 minutes.
- Preheat your oven to 220°C (430°F). Optionally, place a tray of water in the oven to create steam—this helps form a nice crust.
- Bake for 30–35 minutes, or until the crust is golden brown and the loaf sounds hollow when tapped on the bottom.
- Let cool on a wire rack before slicing. Enjoy!
If using dried spent grains, rehydrate them first by soaking in warm water for 30 minutes and draining excess liquid.
Storage tips
- Fresh bread lasts about 2–3 days on the counter in a bread bag.
- You can freeze slices for longer storage—great for toasting later!
- Don’t store bread in the fridge—it dries out faster.
Bonus tips for spent grain use
- Mix dried spent grain with oats and nuts for granola.
- Add a scoop to your pizza dough for extra texture.
- Use spent grain as part of a cracker or flatbread dough.
- Blend into veggie burgers or meatloaf for added fiber.
FAQ about reusing spent grains
Most grains are great, but be careful with extremely dark or highly hopped mashes. Grains from a Stout or Porter will add a strong roasted, almost coffee-like bitterness to your bread, which is delicious in dark loaves but might overpower a light pastry. Also, if you added hops directly to your mash (mash hopping), the grains might be too bitter to enjoy in baking.
Spent grains are like cooked rice; they spoil very fast. If they have been sitting at room temperature for more than 4–6 hours and start to smell “sour” or “funky” (like a compost bin), throw them out. They should always smell sweet, nutty, and like fresh cereal when you use them.
Yes. Spent grain “flour” has no gluten. This means it won’t help the bread rise. If you replace more than 25% of your regular bread flour with spent grain flour, your loaf might become very dense and crumbly. Always keep a base of high-protein bread flour to ensure your bread stays fluffy.
Definitely! You can throw “wet” grains straight into your dough. This adds a great rustic texture. Just make sure to squeeze out as much liquid as possible first, otherwise, your dough will become too sticky. If you use wet grains, start with a little less water in your recipe and add more only if the dough feels too dry.
Yes, and they are fantastic! Because the mashing process removes most of the sugar, the grains themselves aren’t sweet, but they have a wonderful nutty aroma. They pair perfectly with chocolate, cinnamon, and honey. Just make sure to grind them finely for sweets, so you don’t end up with a “crunchy” surprise in a soft muffin.
Final thoughts on using spent grains
Brewing beer is a craft—and reusing your spent grains lets you extend that craft into your kitchen. Instead of tossing those grains, turn them into something delicious. Drying spent grains is easy, and baking bread with them is satisfying, rustic, and absolutely worth the effort.
It’s just one more reason why homebrewing is about more than just beer—it’s about sustainability, creativity, and flavor. So next brew day, don’t dump those grains—bake them!