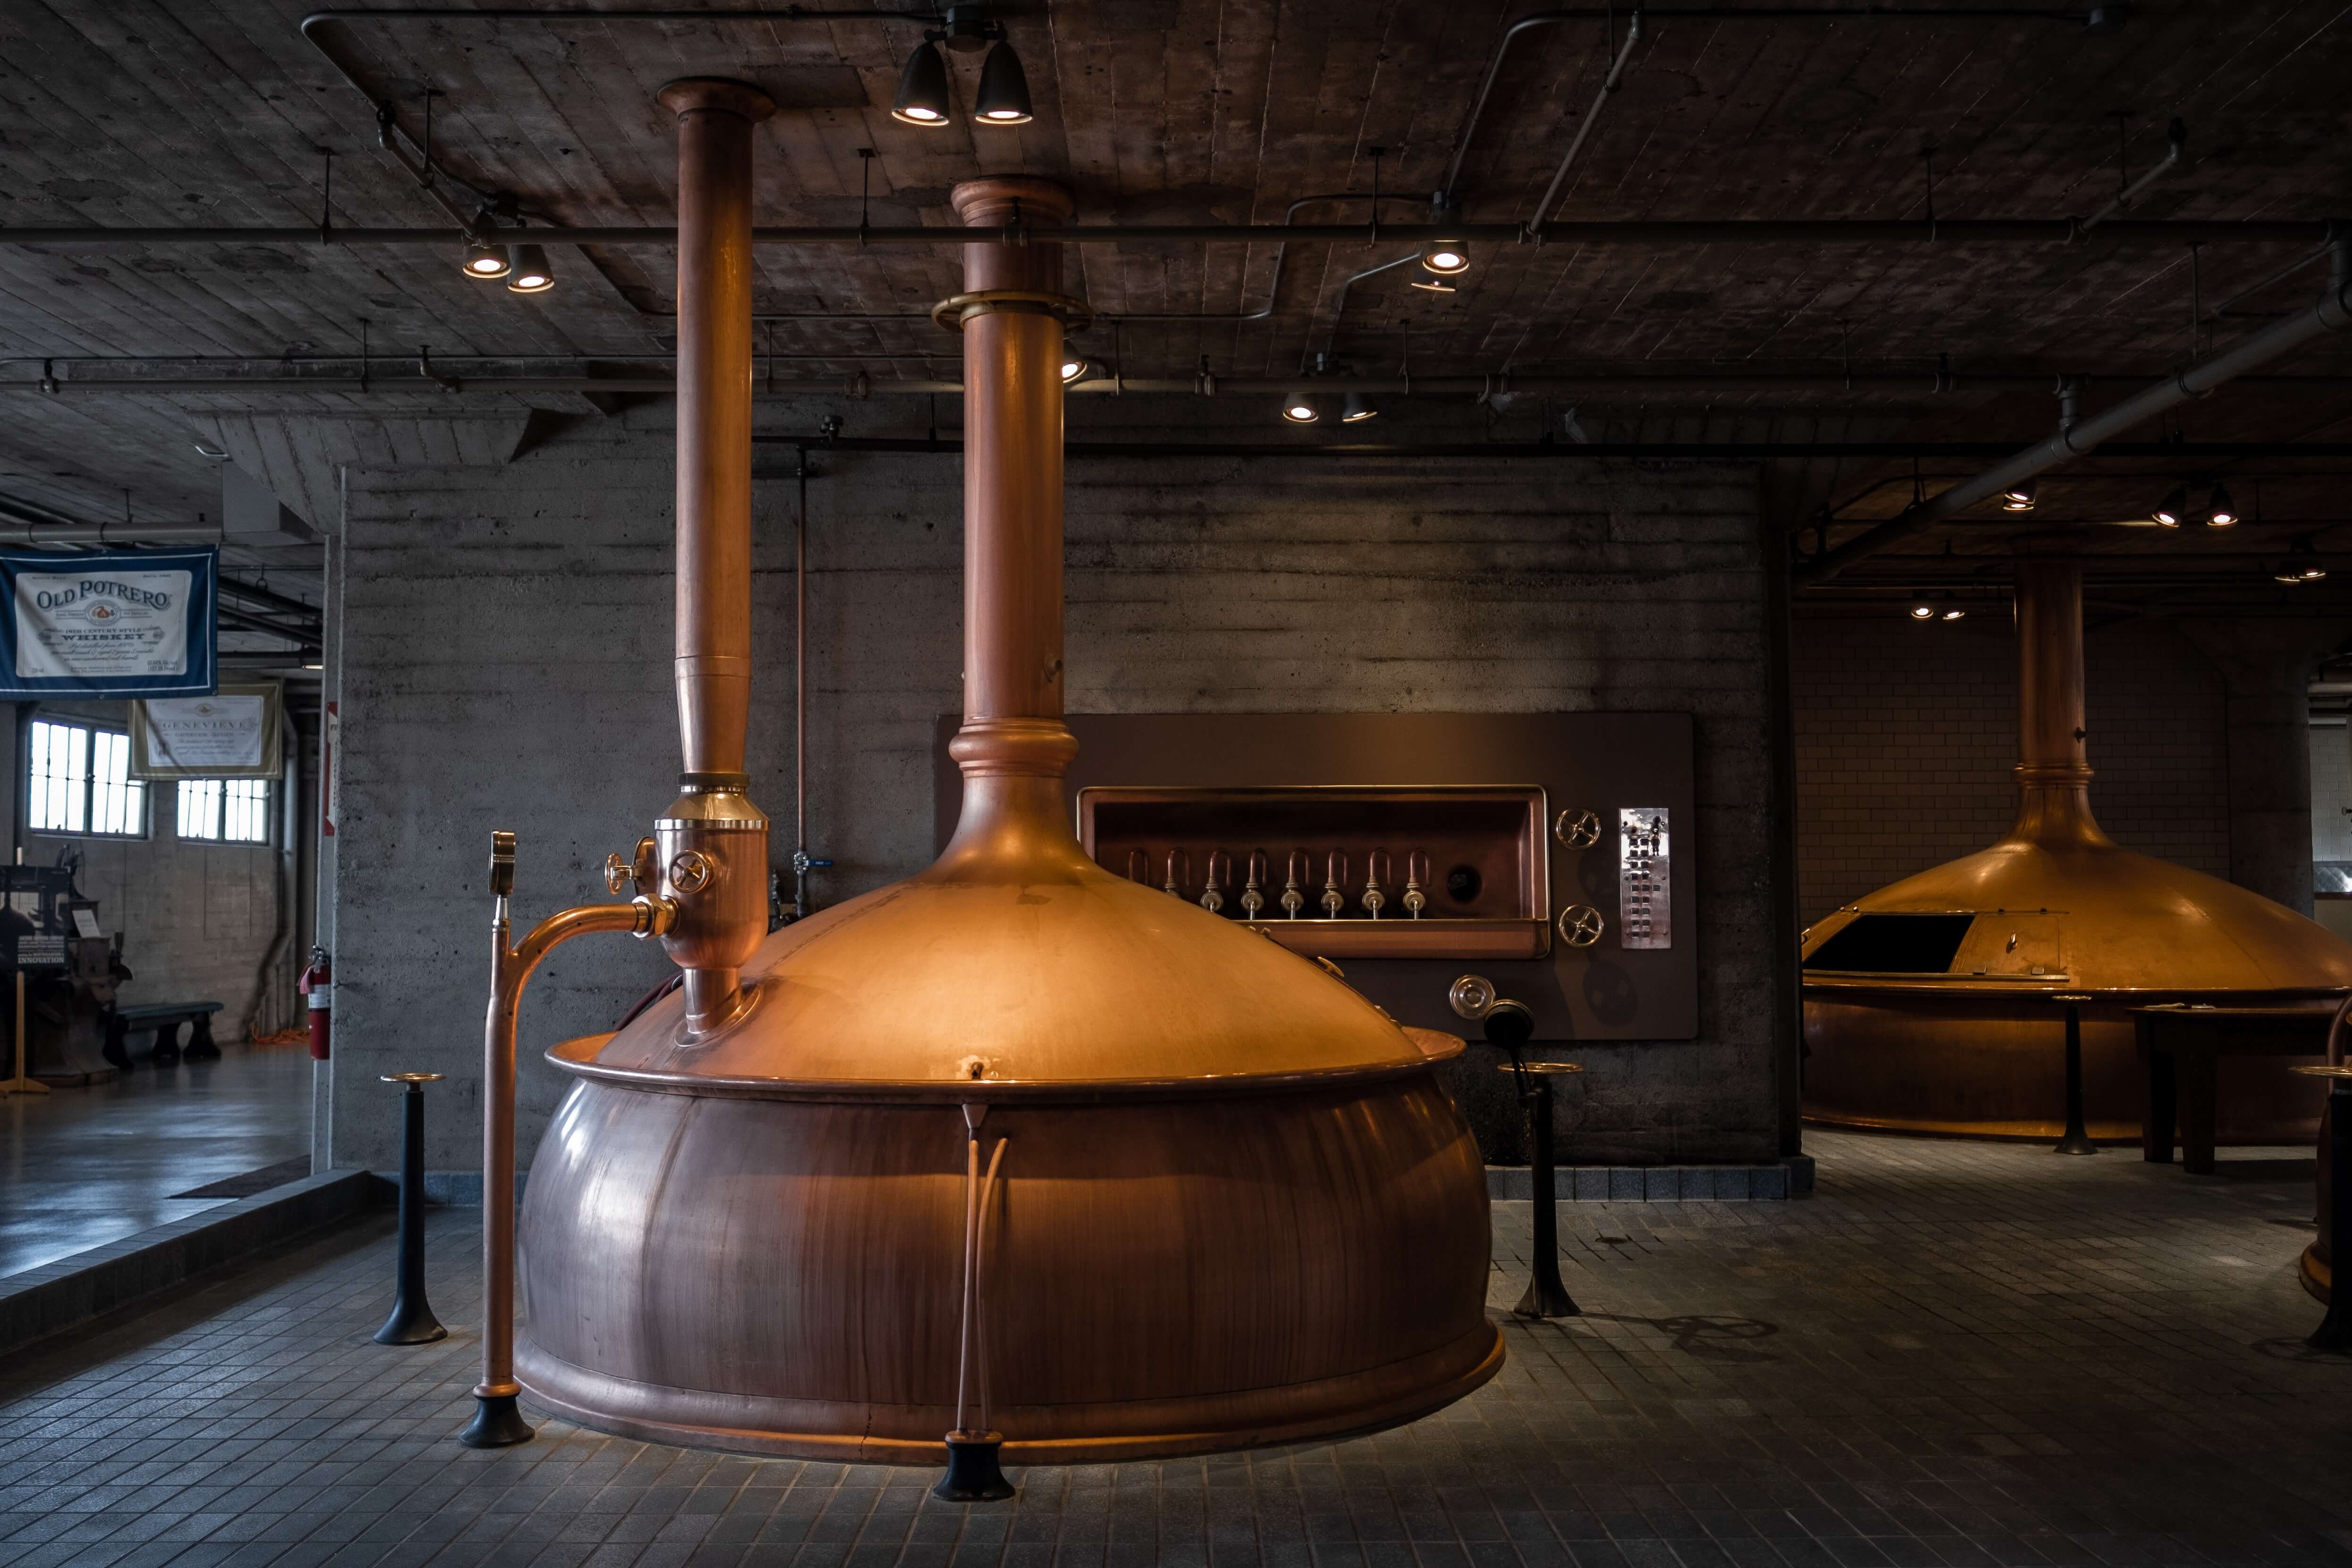
And suddenly there was beer. It sounds it’s that easy, but as a (home)brewer you have to follow a process before you’ve got some beer.
Sometime when I tell people that I’m a homebrewer and brewed beer the day before I get questions like: And is it tasty? Well, brewing beer is not just cooking a meal. Patience is required, because the yeast have a job to do and that might take a couple of weeks.
If it’s not that simple, what is the process of brewing beer then? The process consists of the next 7 steps:
- Mashing
- Lautering and sparging
- Boiling
- Chilling (The wort)
- Fermentation
- Lagering
- Bottling
Mashing
Before you can mash the grains you have to crush them first. By doing this, the core of each grain will be exposed. During the mashing this exposed starch is converted into sugar by the enzyme that are active at the specific temperatures. These sugars are needed by the yeast, just to convert it into alcohol and co2.
ADvertisement
Lautering and sparging
After mashing it is time to separate the spent grains from the liquid. This liquid is called wort and is needed for making beer. The separation is done in a lauter tun. In this tun, the grains will sink to the bottom and form a natural filter. We can get the wort out of the tun with a tap. Small particles will remain in the natural filter, which is intended because we want a clean wort.
The next part of this step is sparging. We will sparge hot water on top of the grains. Residual sugars will be washed out of the grain by sparging. We have to do this as carefully as possible because we don’t want to interrupt the filter. Interrupting may result in unwanted particles in the wort.
Boiling
During this step we are getting the wort at boiling temperature. This will pasteurize the wort and evaporate unwanted substances. During this step that can easily take 60 till 90 minutes we can add the hops. Each specific recept has other times for the hop additions. The longer the hops get boiled, the more bitter the beer will eventually become.
Bittering hops are mostly added at the beginning of the boiling and the aromatic hops at the end. Aromatic hops mostly get 10 minutes of boiling or sometimes it is added on flame-out (when the heating is stopped). The aromas and flavours are preserved best by doing it this way.
Chilling / Cooling
It is now time to chill the wort and we have to be carefull. Contamination by bacterias is possible during this cold side of the brewing process. We have to clean the required equipment and make sure it’s disinfected.
We have to cool down the wort to the yeast pitching temperature as quick as possible. This is because of the contamination risk. You can do this by putting the boiling kettle in an ice bath or by using a wort-chiller for example.
When the wort is at pitching temperature we can add the yeast. Yeast needs oxigen thus you might consider aerating the fermenting bucket.
Fermentation
During the fermentation step there is not that much we can do. Make sure the airlock stays clean. When having a heavy fermentation you might consider placing a blow-off tube instead of the airlock.
In case of a blow-off tube you have to put the end it in a glass filled with water. This prevents of bad guests entering the tube, but allows the co2 to leave it.
To get an extra clear beer you can consider to transfer the wort to a clean fermenting bucket. By leaving the trub in the ‘old’ bucket the chance of a clear beer is bigger.
Lagering (Optional)
By some types of beers (lager, pilsners) it is usual to have a time of lagering. You can do this by putting away the beer on a good cold place for a while. This is usually between the 2 and 6 weeks. The cold temperature effects in more particles sinking to the bottom and in a much cleaner beer.
Bottling
In this step you are bottling the beer. This just means you have to fill down the bottles with beer and then make sure you add some sugar to have it carbonated. Put the beer back on a warm location for about two weeks. Now you can enjoy your beer!

